How to Clean Your Dog’s Ears

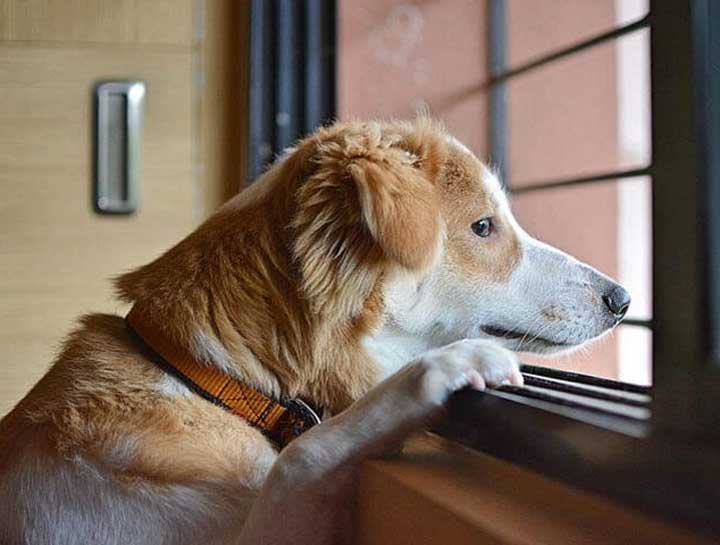
Dogs’ ears can tell us a lot about how they are feeling. Ears that are perked up and forward can mean that the dog is alert and paying attention. Ears held back and flat against the head can indicate fear or aggression. Stinky ears? Now that’s telling us something different. We’ll offer some directions and tips on how to clean your dog’s ears. But first, the why…
Ear Odor Can Mean Ear Infection
Normal dog ears do not have an odor, so the presence of a smell tells us that something is going on in there—whether it is a bacterial or yeast infection, or ear mites. Often, the odor is accompanied by itchiness that can lead to persistent scratching (allergies can also cause itchy ears), which in turn can lead to:
- Redness
- Pain
- Sores
Dogs with floppy ears are more likely to have issues with their ears than those with pricked ears. That’s because floppy ears tend to retain moisture inside, while pricked ears allow more air to circulate. To help avoid infections, dry out ears with a towel or cotton ball after your dog goes swimming or after a bath.
Dogs with a lot of hair in their ears are often more prone to ear infections. Some groomers will pluck out the hair as part of a routine grooming session, but we don’t recommend that course of action. Plucking ear hair tends to lead to sores that can get infected, especially if bacteria are present.
If your dog has itchy ears, you should see your veterinarian to treat the underlying cause. Once the reason for the discomfort has been addressed, both you and your dog will reap the benefits. Cleaning your dog’s ears is a great way to help keep infections at bay, and to keep ears free to express your dog’s many moods. Even if your dog doesn’t suffer from ear odor or itchiness, routine cleaning is recommended to help keep the buildup of wax from causing issues.
How to Clean Your Dog’s Ears
First, let’s understand the anatomy of a dog’s ear. Just like the human ear, it’s composed of three parts: the external, middle, and inner ear. The external portion is just as straightforward as it sounds; it’s the part we can see and it’s the only portion you should attempt to clean yourself.
Start with a vet-approved liquid ear cleaner and tip the dog’s head to the side. Working on one ear at a time, pull the ear flap gently up and squeeze the instructed amount—per the bottle’s instructions—into the ear canal. You want the solution to fill the canal.
Massage the base of the ear on the outside of the dog’s head for a directed amount of time, usually 30-60 seconds. It should make a squishy sound. Allow the cleaner enough time to do its job of loosening wax and dirt.
Alternatively, you could soak a cotton ball, or cotton round, with cleaner and squeeze it into the ear canal.
After massaging, tip the dog’s head to the opposite side and use a new, clean cotton ball or round to absorb the liquid that will run out. Be careful not to push the cotton down into the canal. Tipping the head and absorbing the runout will save the mess of having your dog shake their head and have cleaner spray everywhere. (They’ll still shake their head when you’re done, but this will save you the ear cleaner shower!)
Then, use a dry cotton ball to clean just inside the ear, to wipe out any wax and dirt.
Repeat the process with the other ear using fresh cotton balls to avoid spreading any possible infection from one ear to the other. Finally, reward your dog with their favorite treat and lots of praise!
Tips to Clean Your Dog’s Ears
Keep in mind that you should never clean more than one inch into the dog’s ear canal, and do not use cotton swabs. This could not only push wax and debris further into the canal but cause damage to the inner ear. Also, do not use vinegar or hydrogen peroxide in a dog’s ears. Vinegar can cause unbalanced pH in the ear, and hydrogen peroxide can damage healthy cells.
Some dogs will only need to have their ears cleaned every couple of months, while others may need theirs cleaned a couple of times a week. Speak to your veterinarian about how often your dog should have its ears cleaned.
Here are some dos and don’ts for a successful ear-cleaning session:
Do:
- Assemble everything you may need before you start
- Pick a time when your dog is calm and relaxed
- Use a vet-approved cleaning solution
- Use fresh, clean cotton balls or rounds for each ear
- Offer lots of praise to make it a positive experience
Don’t:
- Use vinegar or hydrogen peroxide as a cleaning solution
- Touch the bottle’s applicator to your dog’s ear as it could transfer bacteria
- Use cotton swabs in your dog’s ears
- Clean further than you can see—no further than one inch inside
- Continue if your dog seems to be in pain—consult your veterinarian
